scanning… tasteful.

rkitect.ai // the sketchup rendering plugin

SketchUp in. Instant panoramas out.

Frame a view in SketchUp, pick a look, and get a photoreal render or a full 360° panorama back in seconds — no exporting, no rebuilding. Your model stays the source; every view stays on the project.

your viewport is the camera 360° panoramas and 2D stills keep model geometry untouched
scroll
Feature 01 — a familiar starting point

Use the model you already have.

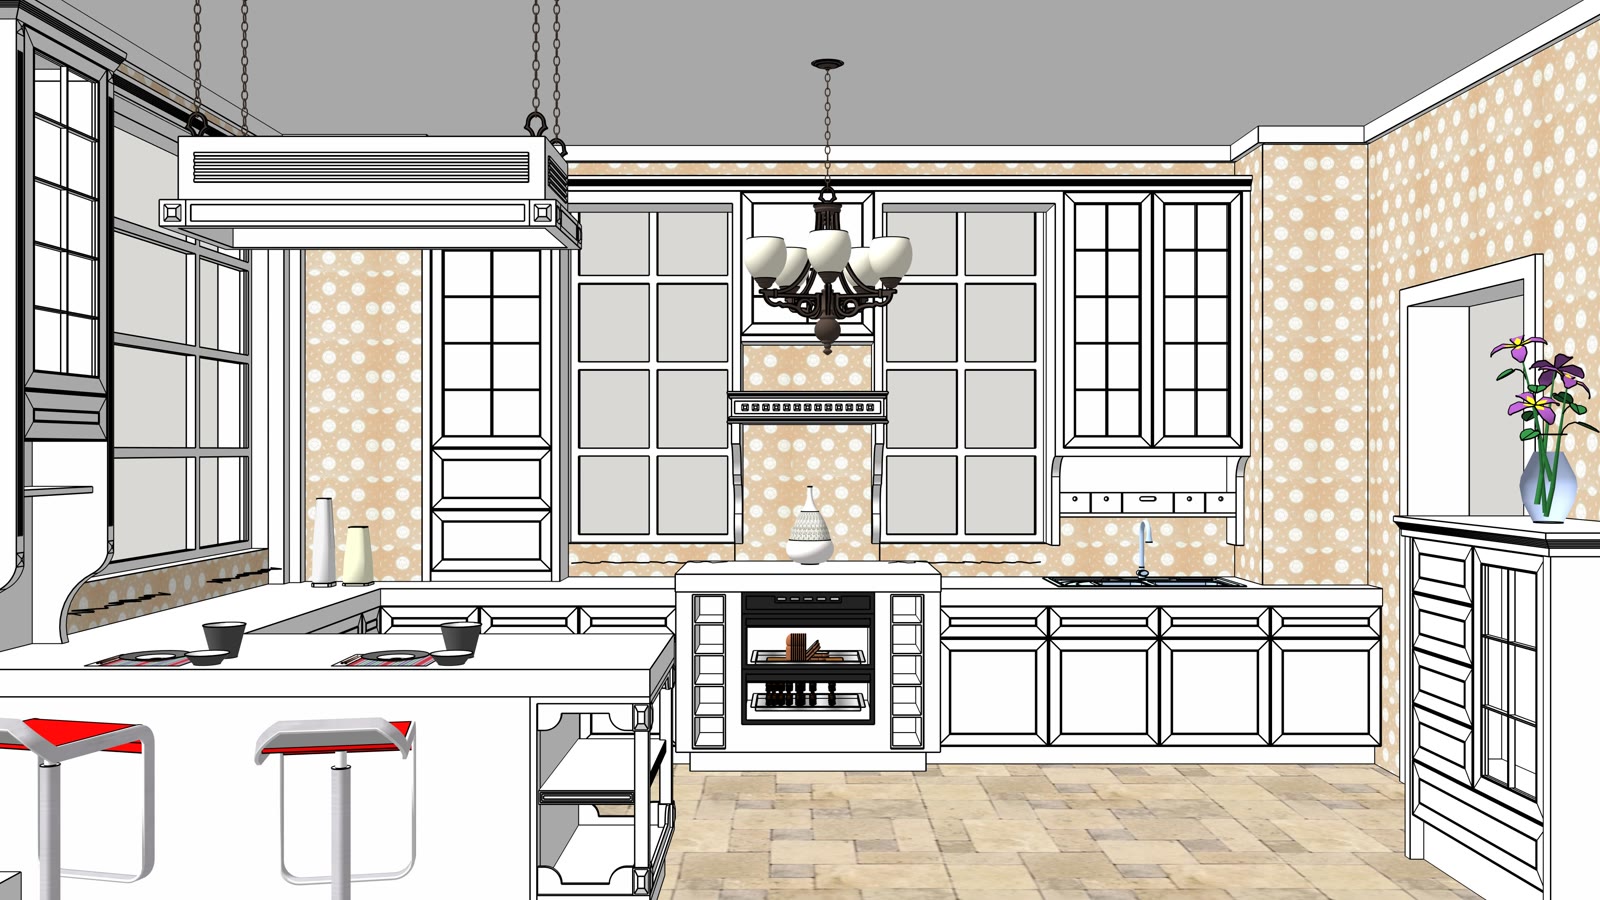
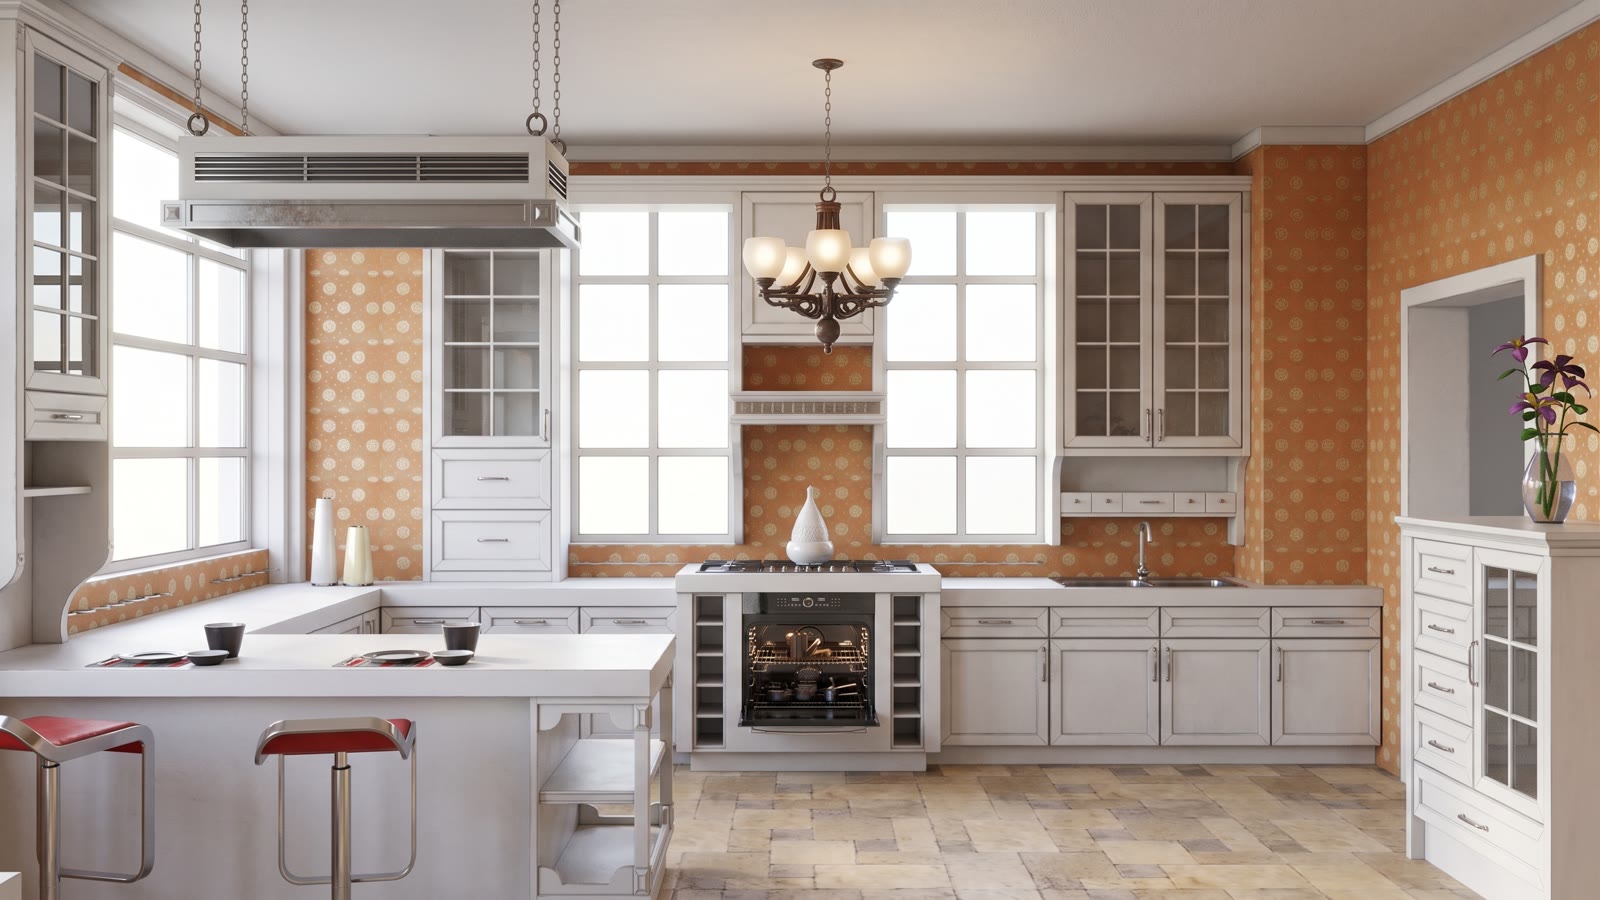
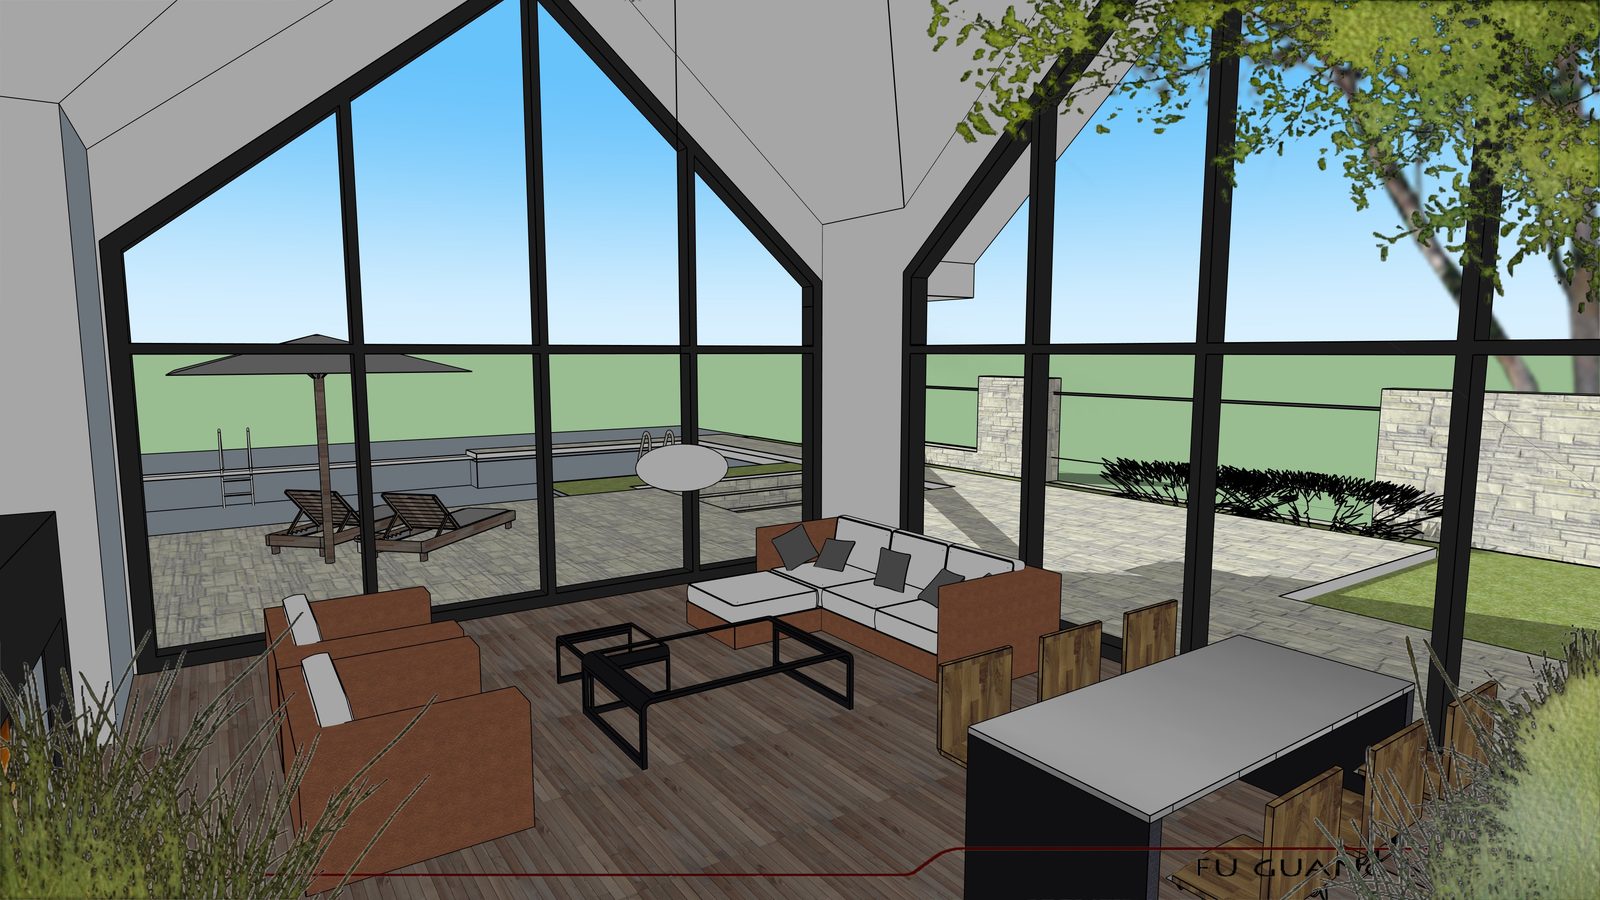
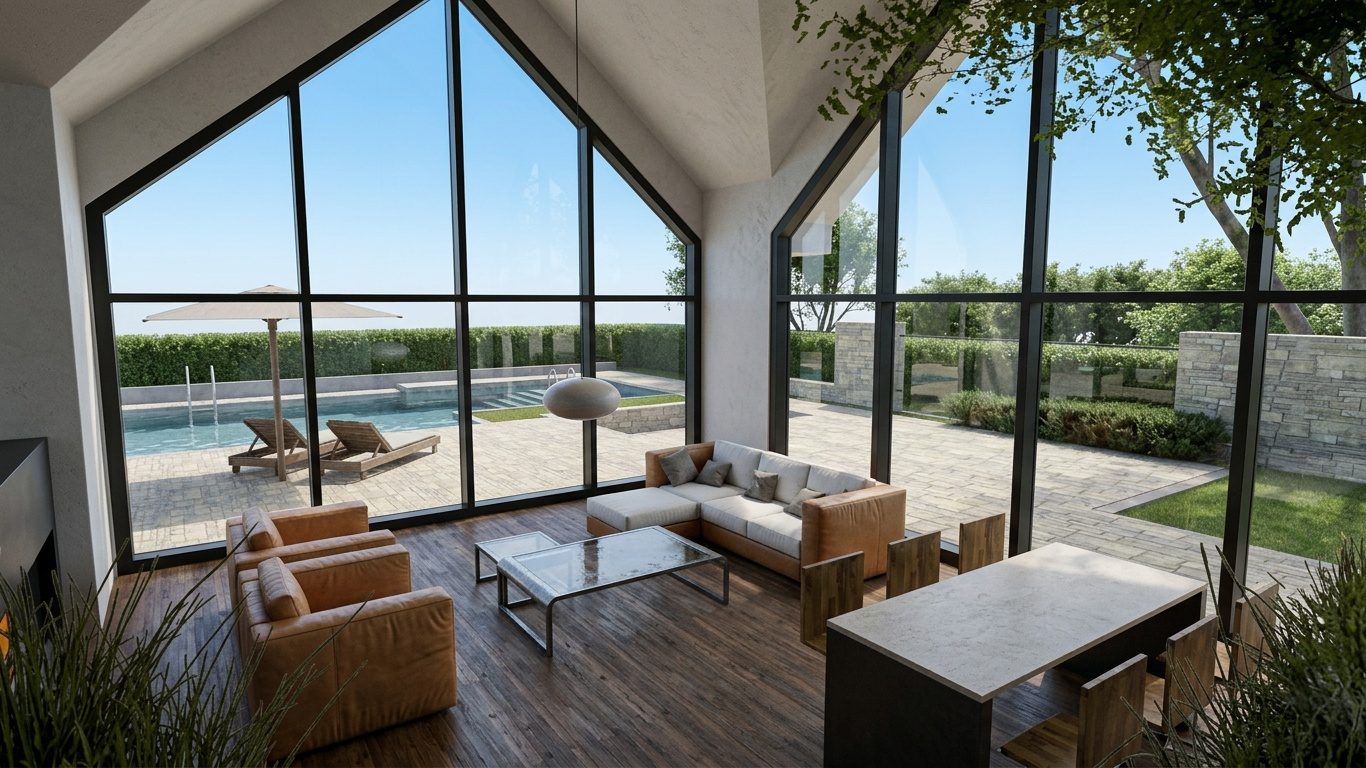
Open a working model, set the camera, and launch rkitect. No exporting geometry or rebuilding materials — your SketchUp model goes straight to a photoreal render.

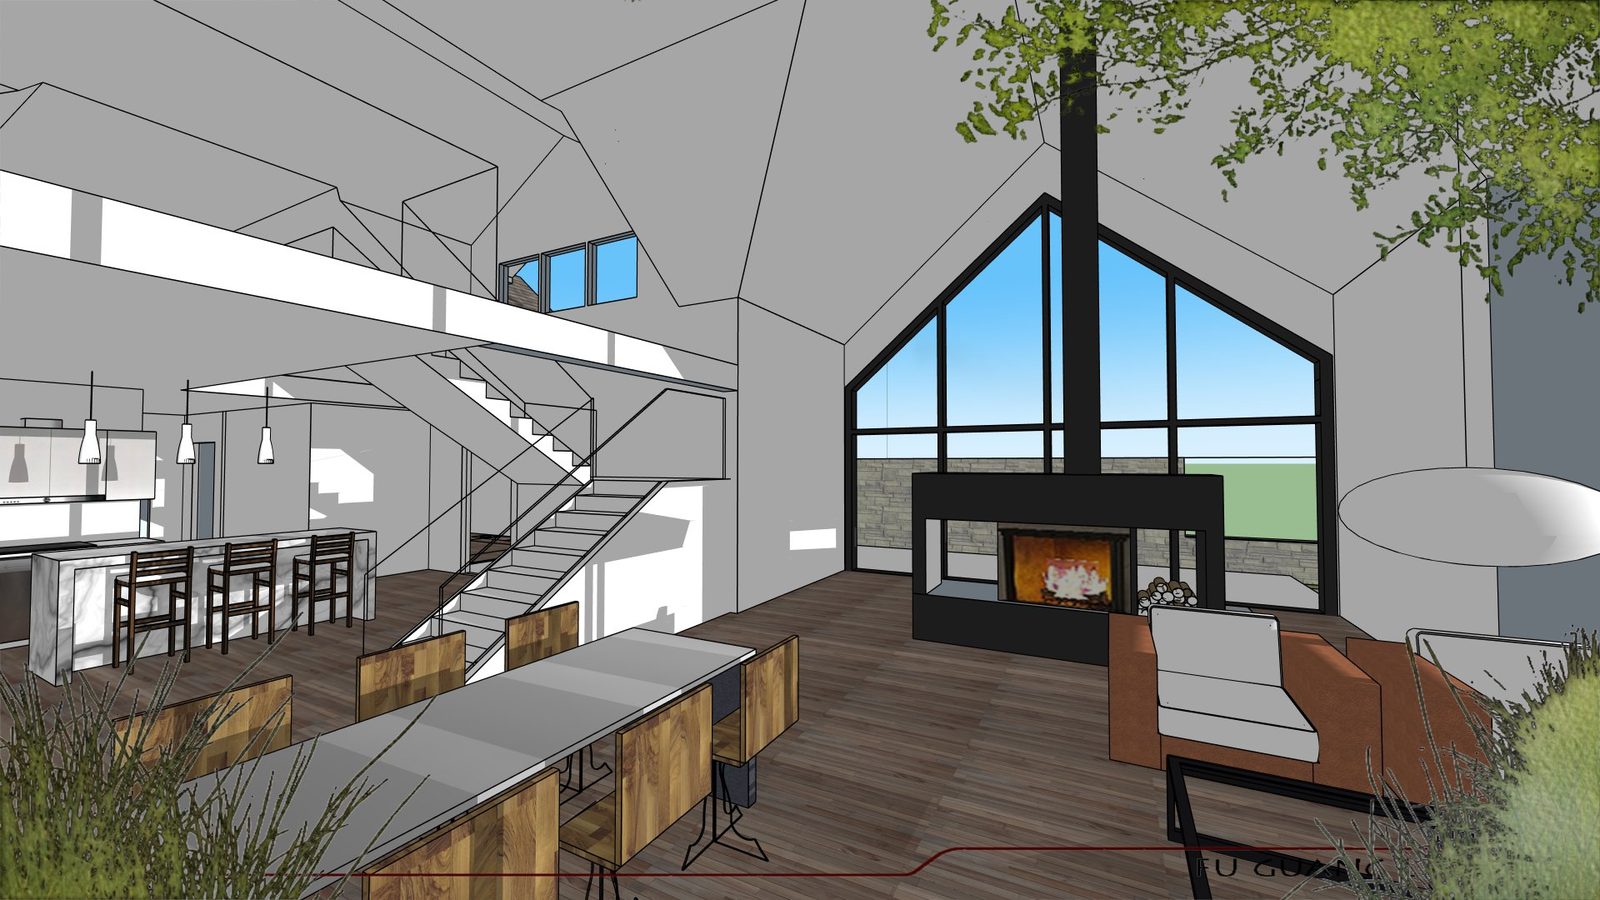
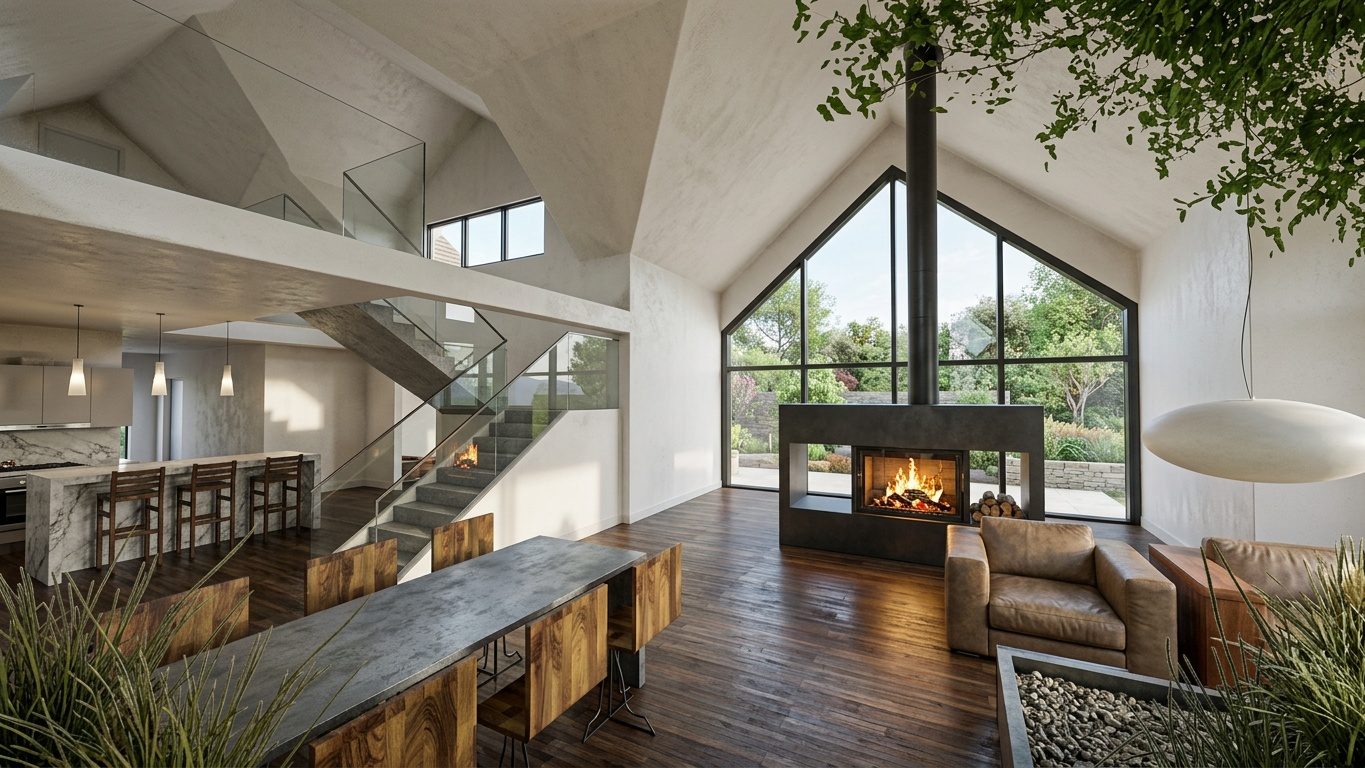
Drag the divider — the same scene, model and render.

SketchUp model of a classic kitchenPhotoreal render of the same kitchenSketchUp modelPhotoreal render
Feature 02 — render in place

Render inside SketchUp.

Photoreal renders directly from the viewport — a 360° panorama or a 2D still — from a simple style choice or a short text prompt.

In the viewport the plugin renders over your live SketchUp scene.

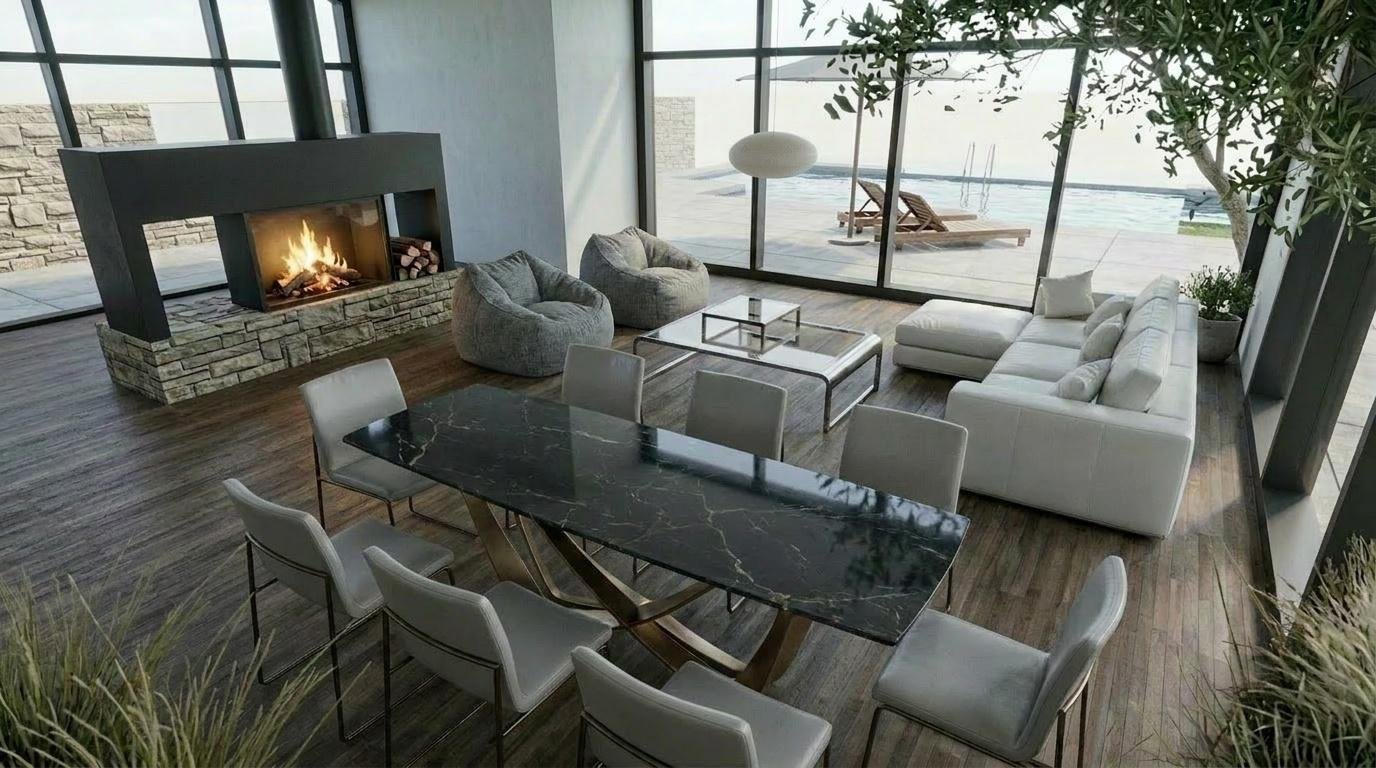
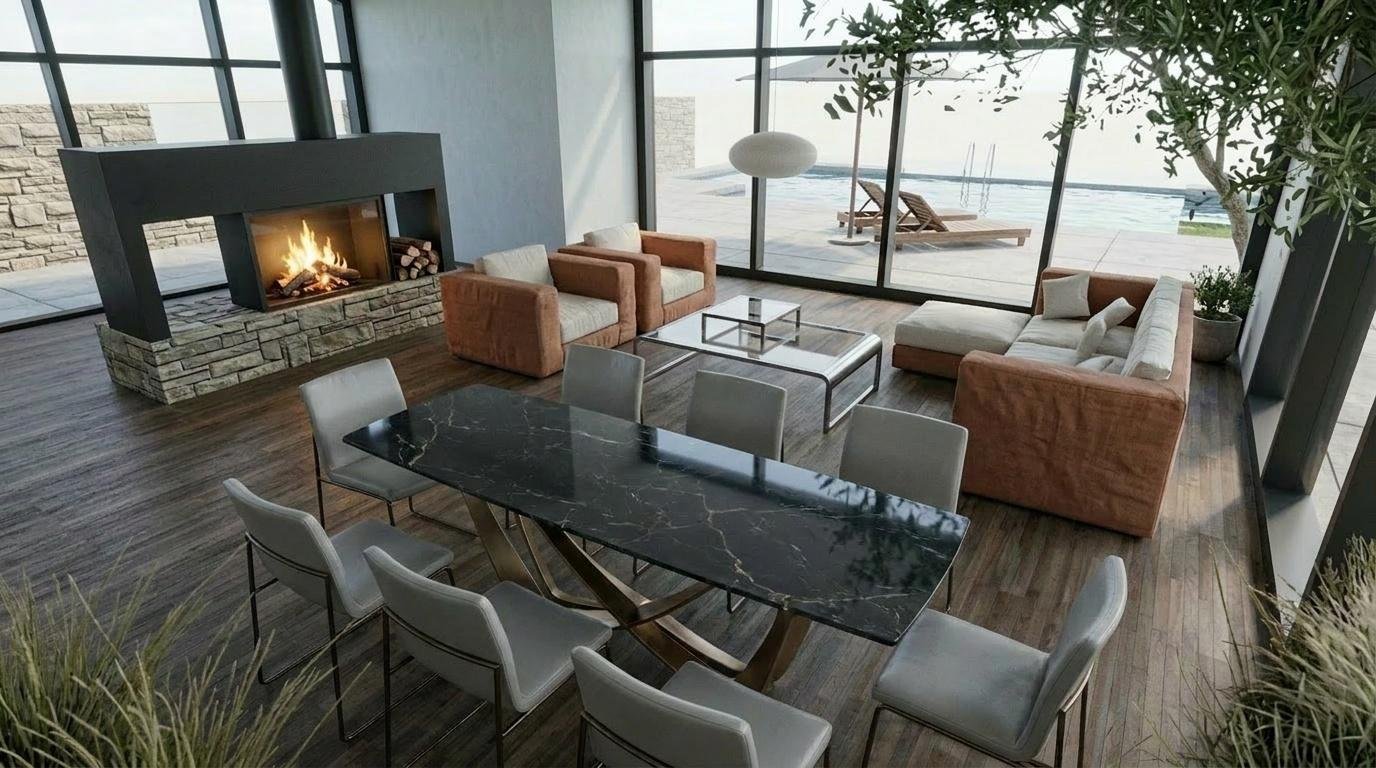
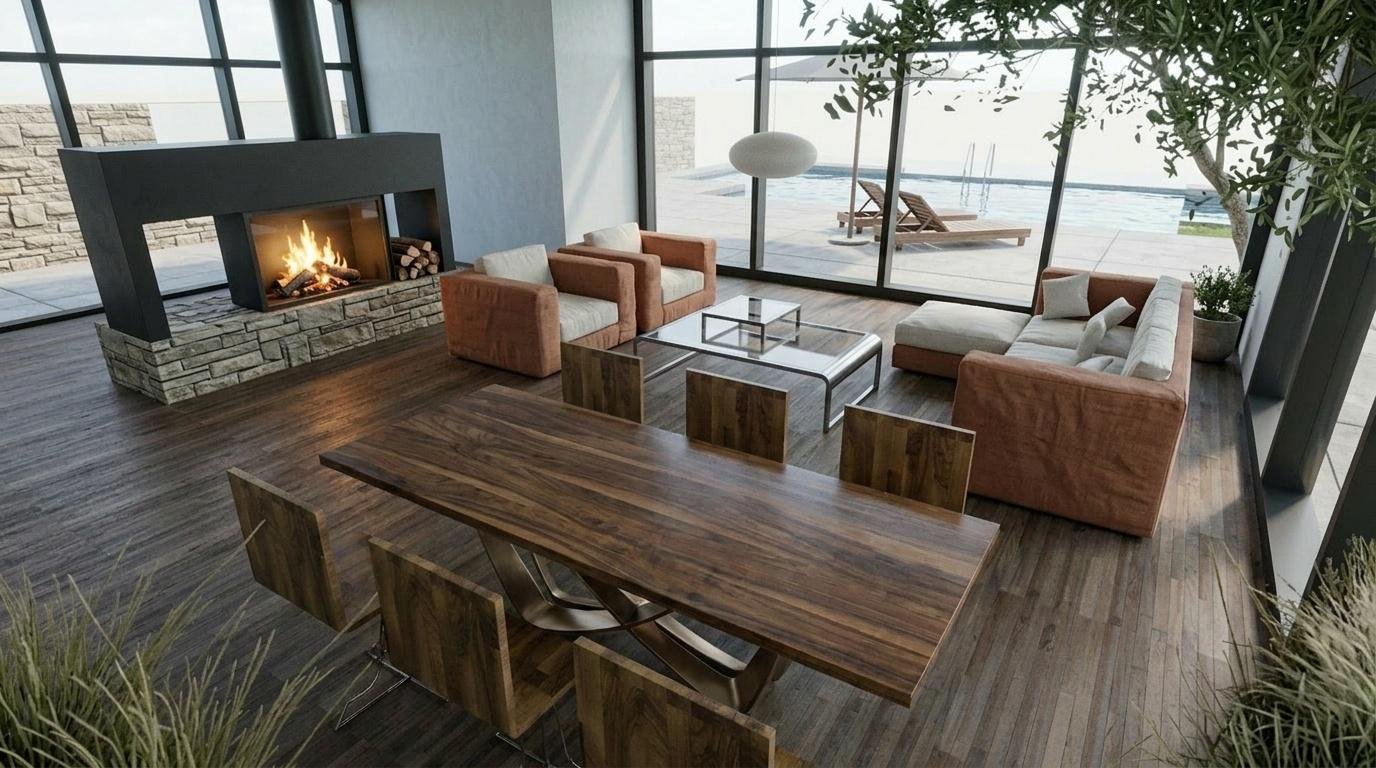
// one render, re-lit — non-destructive edits & lighting

Base daylight render
01 base · daylight
Furnishing swapped in the same render
02 furnishing
Materials changed in the same render
03 materials
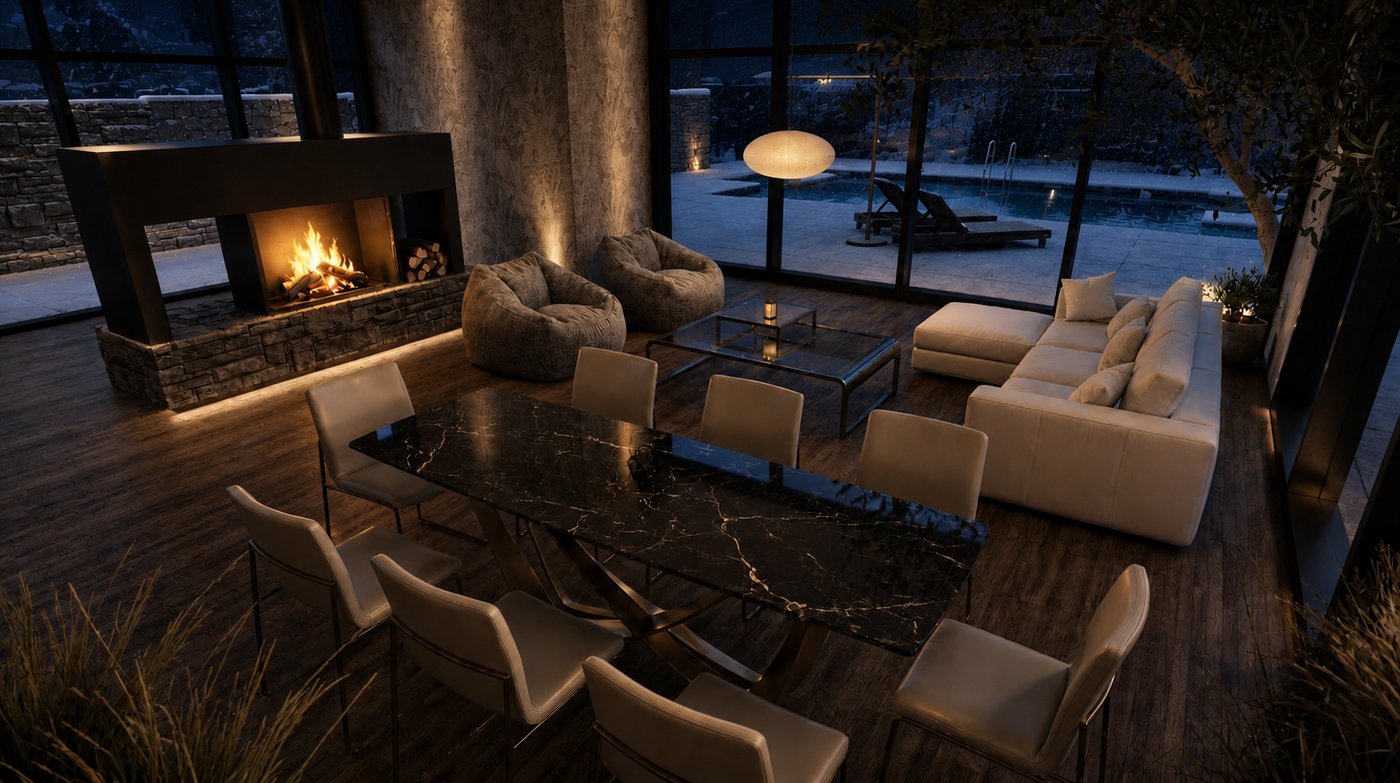
Same room re-lit for dusk
04 re-lit · dusk

// 360° from your scene — drag to look around

360° panorama drag or zoom to look around
panoramic render generated from a sketchup viewport● 360°
01Frame the active view 02Set direction & pick style 03Generate & compare 04Send to studio & iterate

04 the agentic studio coming soon

When a render
isn't enough.

What comes after the render — moodboards that understand taste, a walkable 3D world, and the bill of quantities. Coming soon.

vlm moodboard
01

Moodboards, matched soon

Drop in references and a vision-language model reads the palette, materials and mood — then carries that exact look across every room in the project.

marble splat
02

Walk it in 3D soon

Every render becomes a walkable 3D world — a Marble Gaussian-splat scene your clients can move through, not just look at.

itemqtyamount
Italian marble flooring640 sq ft₹1,92,000
Walnut veneer panelling210 sq ft₹1,47,000
Recessed lighting24 nos₹86,400
Auto-derived from the design₹6.4L
03

BOQ, automated soon

Change the floor, the number changes.

05 your move

Download the
plugin.

Get the rkitect extension for SketchUp — free while in early access. Or drop us a line below.

request access● the studio is listening

received. the studio has been briefed.

06 about us

We're building the
studio for studios.

rkitect.ai is an AI studio for architects and interior designers — the associate you never hired, built under HappyMonk AI in Bengaluru.

The design isn't the slow part. The showing is.

It started with a frustration we kept seeing in practice — you visualise an idea for a client, then redo it every time they ask for one change. Re-render the whole room to move one sofa. That loop is where the hours that should go into actual design quietly disappear.

So we built something you can brief like a junior team — "three-bed, modern, warm light" — that comes back with the whole thing. And when the client changes their mind, you change one surface, not the entire render. The render holds. That single idea is what the whole product is built around.

Under the hood it runs like an office — one Principal Architect routing five specialists: Plan Drafter, Space Planner, Renderer, Materials Specialist, Lighting Designer. And we held one rule from day one: it proposes, you direct. It's not here to replace judgment — it's here to make room for it.

the studio, mid-thought · happymonk ai

// the team

A small team, building in the open.

BA

Bhavish Agarwal

Founder & CEO

Leads product vision, R&D and overall direction.

SS

Snehanshu Saha

Co-Founder · R&D

Drives research and product — turning design workflows into the agentic pipeline.

AS

Aman Singh

Technical Lead

Owns engineering: the generation pipeline, rendering and the SketchUp plugin.

P

Patrick

Marketing & Sales

Leads go-to-market, brand and customer acquisition.

E

Ekta

HR & Operations

Runs people and operations as the team scales.

A

Aditi

Architect Advisor

Practicing architect validating product and positioning.

07 legal · privacy

Privacy policy.

How rkitect.ai collects, uses, protects, and shares information across our studio, plugin, and website.

Last updated 29 June 2026 · operated by HappyMonk AI

01

Who we are

rkitect.ai ("rkitect", "we") is an agentic AI design studio for architects and interior designers, operated by HappyMonk AI. This policy explains how we handle personal information across our website, the SketchUp plugin, and the studio (the "Service").

Questions? Email imagine@rkitect.ai.

02

Information we collect

We collect only what we need to run the studio well:

  • Account & contact details — name, email, studio/firm, and role.
  • Briefs & design content — the prompts, models, and files you submit.
  • Usage data — features used, renders generated, device, and approximate location from your IP.
  • Communications — messages you send us.
03

How we use information

To provide and improve the Service; run the agentic pipeline that turns your brief into editable output; respond to access and support requests; maintain security and prevent abuse; and send service updates (product news only with consent).

04

Your designs are yours

Your briefs, models, and renders are yours. We process them to deliver the Service and keep your project in memory so edits hold.

We do not use your private design content to train shared or third-party foundation models without your explicit, separate consent. Only aggregated, de-identified signals may improve quality.
05

Sharing & sub-processors

Generating renders relies on select infrastructure and model providers acting as our processors (hosting, GPU inference, email, analytics). We share only what is necessary, under confidentiality and security obligations. We do not sell your personal information.

06

Retention & security

We keep account data while your account is active, and delete briefs and assets on request or within a reasonable period after closure, subject to law. We use encryption in transit, access controls, and least-privilege practices, and notify you of material breaches as required.

07

Your rights

Depending on where you live, you may access, correct, delete, port, or object to processing of your data, and withdraw consent.

To exercise these, email imagine@rkitect.ai.

08

Cookies, transfers, children & changes

We use essential cookies and light, privacy-respecting analytics. We may process data in other countries with appropriate safeguards. The Service is not directed to children under 16. We may update this policy and will revise the date above for material changes.

07 legal · terms

Terms & conditions.

The terms that govern your access to and use of rkitect.ai — the studio, the plugin, and this website.

Last updated 29 June 2026 · operated by HappyMonk AI

01

Agreement

These Terms are a binding agreement between you and HappyMonk AI, operator of rkitect.ai. By using the Service you agree to them. If you use rkitect for a studio or firm, you confirm you are authorised to bind it.

02

The service & early access

rkitect provides AI-assisted design generation and non-destructive editing. Parts are early access or beta and may change or be discontinued. Features and limits can update at any time.

03

Accounts & acceptable use

You are responsible for your credentials and all activity under your account. You agree not to use the Service unlawfully, infringe others' rights, upload content you lack rights to, reverse-engineer the models except as permitted by law, or abuse the Service in ways that degrade it for others.

04

Your content & licence

You keep ownership of the briefs, models, and files you submit ("Your Content"), and grant us a limited licence to host, process, and transform it solely to operate and improve the Service and deliver outputs to you.

05

Ownership of outputs

Subject to these Terms and any fees, you own the renders and edits generated from Your Content and may use them for professional and commercial projects.

Because AI outputs come from models serving many users, we cannot guarantee any output is unique or that similar outputs won't be generated for others.
06

AI outputs — no professional warranty

rkitect produces visualisations and proposals. It proposes; you direct. Outputs are not architectural, engineering, or code-compliance advice and must be reviewed and approved by a qualified professional before being relied upon or built.

07

Fees, termination & liability

Where fees apply, you agree to the prices and billing cycle shown at purchase; subscriptions renew until cancelled (see Refund Policy). We may suspend access for breach or risk. The Service is provided "as is"; to the maximum extent permitted by law, our total liability for any claim is limited to the amount you paid in the 12 months before it.

08

Governing law & changes

These Terms are governed by the laws of India, with the courts of Bengaluru, Karnataka having exclusive jurisdiction. We may update these Terms and will revise the date above for material changes.

This is a clear, good-faith summary. Have it reviewed by qualified counsel and complete your registered-entity details before relying on it as a final agreement.

07 legal · refunds

Refund policy.

All sales are final. This policy explains our no-refund position and the few exceptions required by law.

Last updated 29 June 2026 · operated by HappyMonk AI

01

All sales are final

All fees paid to rkitect.ai are non-refundable. Because the studio delivers AI compute and generated design the moment you use it, we do not offer refunds, returns, or credits once a payment is made — except where a refund is strictly required by applicable law.

By subscribing or purchasing credits, you acknowledge and agree to this no-refund policy.

In short: we don't give refunds. You can cancel any time to stop future charges, but past and current payments are not refunded.
02

Subscriptions & billing

Paid plans are billed in advance for each billing cycle (monthly or annual) and renew automatically until cancelled. You can cancel at any time; cancellation stops future billing and takes effect at the end of the current period.

We do not provide refunds or credits for partial periods, unused time, downgrades, or charges already made.

03

Render credits

Credits and one-time packs are consumable and non-refundable, whether used or unused. Once added to your account they cannot be exchanged for money or transferred.

04

Early access & beta

The Service, including any early-access or beta features, is provided "as is" and may change. Payments for early-access plans are non-refundable.

05

Limited exceptions

We may, at our sole discretion, issue a refund only where:

  • you were charged more than once for the same item (a duplicate charge);
  • there was a proven billing error on our side; or
  • a refund is required by the consumer law that applies to you.

Any approved refund is returned to the original payment method.

06

Cancelling to avoid future charges

To cancel, manage your plan in your account settings or email imagine@rkitect.ai before your renewal date. Cancelling ends all future billing; it does not refund amounts already paid.

07

Your statutory rights & contact

Nothing in this policy limits any non-waivable refund or consumer rights you may have under the law of your country.

Questions about a charge? Email imagine@rkitect.ai and we'll help.

08 the sketchup plugin

Render inside
SketchUp.

Your model, photoreal — without leaving the viewport. The plugin sends your scene to the studio and brings the render back to your screen. Interiors and exteriors.

01Install the extension 02Frame your view 03Render — pick a style 04Keep editing in the studio
the plugin, in the viewport● live

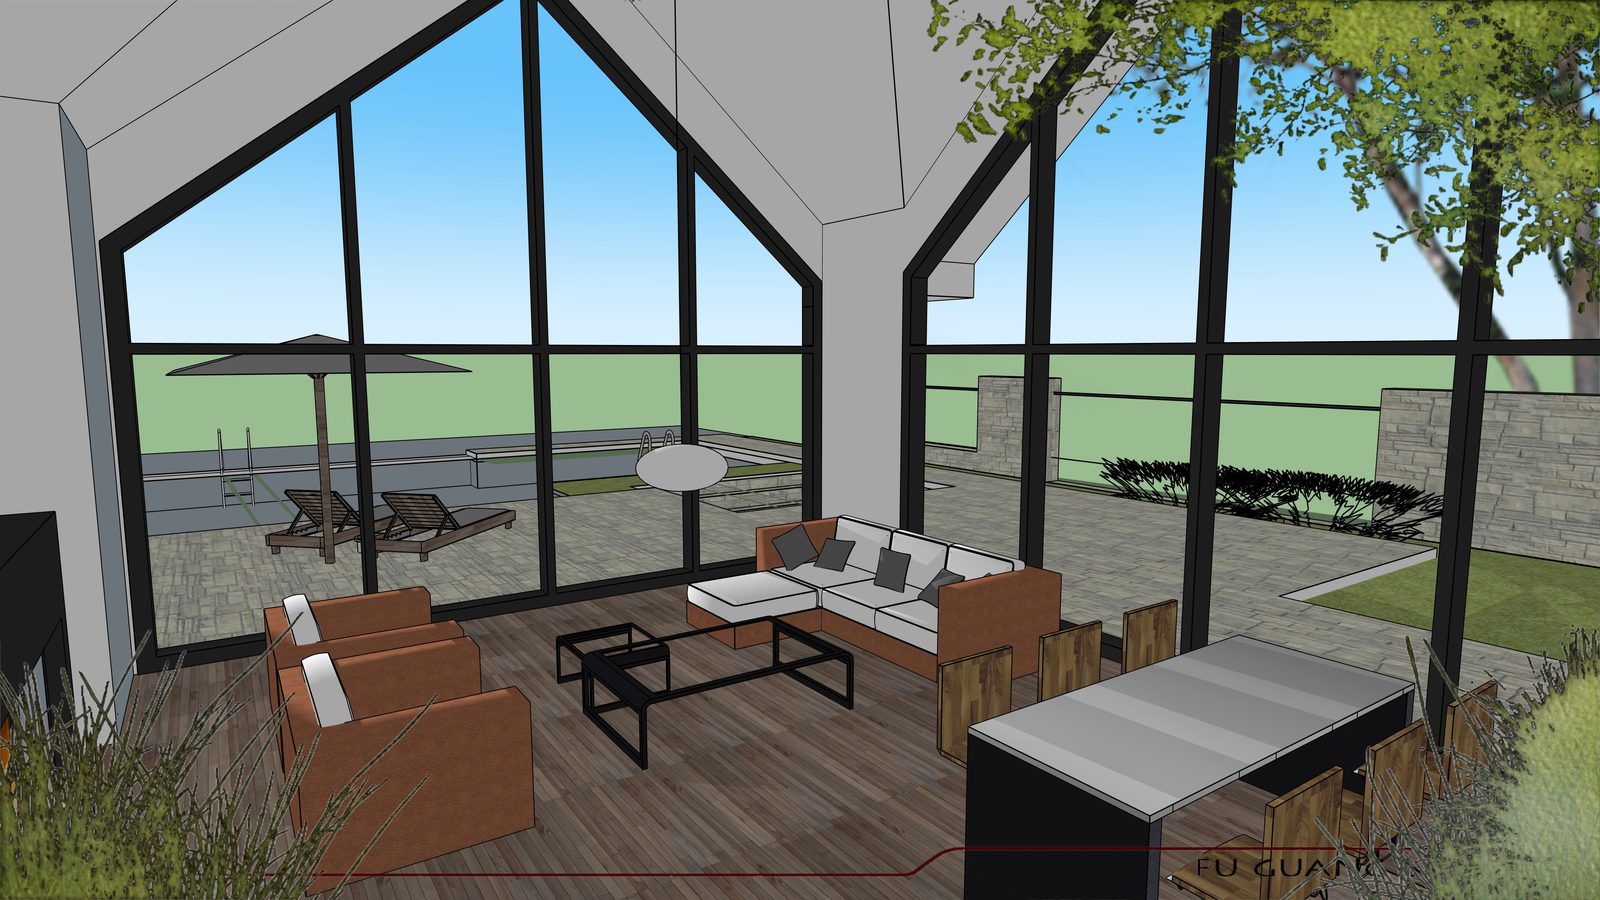
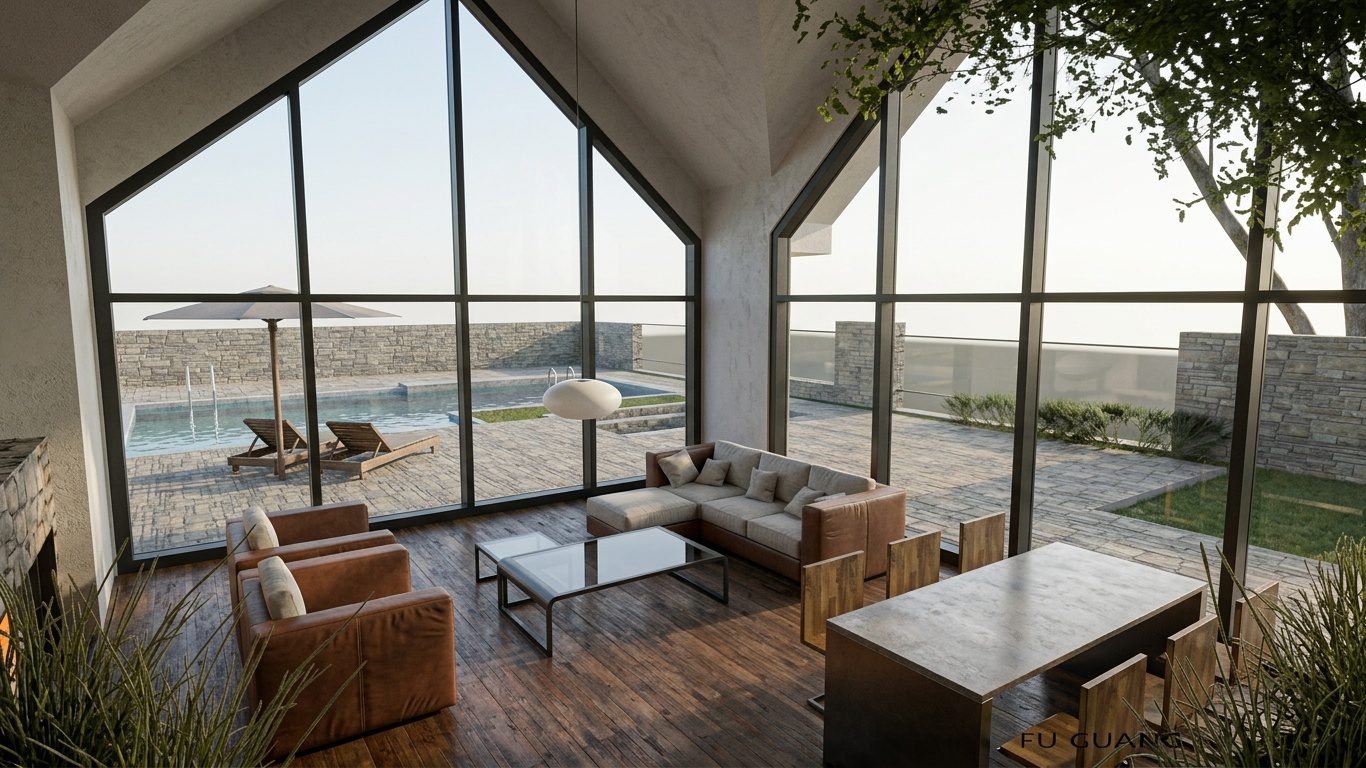
// viewport model vs render — drag the divider

SketchUp viewport model Photoreal render from the same scene SketchUp modelPhotoreal render
same scene — model and photoreal renderdrag ⟺

// before / after

interior — model → render
exterior — model → render

// the complete process

01

Install and connect.

Add the rkitect extension to SketchUp, sign in, and connect it to your workspace. The extension keeps each generated view tied to the correct project and user.

02

Prepare the scene.

Use tags, shadows, section planes, field of view, and visible geometry exactly as you normally would. The active viewport is treated as the composition, so what you see becomes the starting frame.

Practical tip: save a named SketchUp scene before each render direction so you can reproduce the camera later.
03

Set the visual direction.

Choose interior or exterior, output style, time of day, atmosphere, and the level of realism. Add a short note for material intent or context without writing a complex prompt.

04

Generate and compare.

Create several options from the same scene. Compare mood, lighting, facade language, planting, furniture character, or finish direction while preserving the composition clients already approved.

05

Send the selected view to the studio. coming soon

Open the chosen result in the rkitect studio to make targeted changes — select a wall, floor, ceiling, furniture zone, or landscape area and describe only the change you need. The agentic studio (region edits, 360° walkthroughs, moodboards, and BOQ) is arriving soon; today the plugin renders and keeps every view attached to the project.

06

Review, export, and return to SketchUp.

Download the approved image for boards and presentations, keep alternates in the project, and return to your model with the original geometry untouched. The project history preserves decisions for later rounds.

Works especially well for

  • Fast client-facing interior views
  • Exterior massing and facade mood tests
  • Lighting and time-of-day comparisons
  • Material alternatives without duplicate models

Prepare before rendering

  • Clean the active camera framing
  • Hide guides and unwanted tags
  • Check verticals and field of view
  • Save the SketchUp scene name

// install it

From the Extension Warehouse

  • In SketchUp: Extensions → Extension Warehouse
  • Search “rkitect” and click Install
  • SketchUp keeps it updated automatically

Or install the .rbz

  • Download the plugin package below
  • Extensions → Extension Manager → Install Extension
  • Select camera360_rkitect.rbz

12 download

Get the SketchUp
plugin.

Sign in with your email to download the rkitect extension (.rbz). It takes a second — and lets us send you setup help and update notes.

sign in to download● rkitect for sketchup

Your download is recorded so we can send setup help. No spam — see privacy.

SketchUp plugin · Getting started

Install & connect

Add the rkitect extension to SketchUp, then sign in.

Install — Option A: Extension Warehouse

  1. In SketchUp, open Extensions → Extension Warehouse.
  2. Search “rkitect” and click Install. SketchUp keeps it updated automatically.

Install — Option B: the .rbz file

  1. Download the plugin (.rbz) from the download page (quick sign-in).
  2. In SketchUp, open Extensions → Extension Manager → Install Extension.
  3. Select the downloaded camera360_rkitect.rbz.
Tip: if SketchUp blocks it, set Extension Manager → Manage → Loading Policy to Unrestricted, then reinstall.

Connect your account

  1. Open the rkitect panel in SketchUp.
  2. Click Sign in to rkitect.ai to link your renders, credits, and projects.click sign in to rkitect.ai
  3. Not ready? Use Try 360° demo without signing in first.
SketchUp plugin · Rendering

Render a single view

Aim your camera, pick a look, hit render.

  1. Pick your scene in SketchUp. Aim the camera; hide anything you don't want in frame.select your preferred scene in SketchUp
  2. Choose “Render this view” — your current SketchUp camera.select render current SketchUp view
  3. Pick “Just this view.” A fast, single frame.choose just this view
  4. Choose a style. Modern Minimalist, Industrial Loft, Biophilic… or type a short prompt.select the style you want
  5. Set quality — 1K draft, 2K standard, or 4K final.
  6. Click “Render this view.”then click render this view
Done — your single-shot render lands in the project as a Shot, ready to reuse, re-angle, or edit.
SketchUp plugin · Rendering

Render a full 360°

Same steps — but a drag-around, immersive panorama.

  1. Pick your scene in SketchUp and open the rkitect panel.select your preferred scene in SketchUp
  2. Choose “Render this view.”
  3. Pick “Full 360° · immersive panorama” under View type.choose full 360 degree immersive panorama
  4. Choose a style or add a prompt.select the style you want
  5. Set quality and click Render.
Done — your full 360° panorama is ready to look around and share. Uses more credits than a single view.
SketchUp plugin · Style

Match a moodboard

Give rkitect a reference; it matches that look.

  1. Open the Mood Board and add a reference image.click the plus icon to open your mood board
  2. Set how it's used — “Use this style” for the whole look, or “Put this in the room” for one element.
  3. Select the moodboard image in the prompt box.select your uploaded mood board image in the prompt box
  4. Click Render.
Done — the look carries across every room in the project.
SketchUp plugin · Editing

Place & swap objects

Change one thing without starting over.

  1. Open a render and type a change in the prompt box — e.g. “replace the sofa with this”.
  2. Attach an object image and tap its label to set “Put this in the room”.select your object and click add to render
  3. Click Render. Untouched parts of the scene stay put.
  4. Need another angle? “New camera angle” re-renders the same room in the same style — move your camera, then click.
SketchUp plugin · Billing

Credits & billing

Renders run on credits. Buy a pack, spend as you render.

  1. Open Settings → Billing.click billing, go to buy credits
  2. Choose a credit pack — Starter ₹99 (10), Pro ₹349 (50), or Business ₹999 (150).choose the credit pack you want
  3. Complete payment.you'll be taken to the payment page to complete your purchase
Costs are per operation — a single view is cheapest; 360° rooms and higher quality use more. The live cost shows on the render button before you commit.

10 pricing

Pay as you render.

No subscription. Buy a pack of credits and spend them on renders — top up inside the plugin whenever you need more.

// buy credits

Starter Pack
₹99
10 credits
  • A few single-view renders
  • Try the workflow end to end
Get the plugin
Popular
Pro Pack
₹349
50 credits
  • Best value for regular work
  • Mix of single views and 360°s
Get the plugin
Business Pack
₹999
150 credits
  • For high render volume
  • Full projects, styles and walkthroughs
Get the plugin

Credits are bought inside the plugin — Settings → Billing → Buy credits. Prices in ₹, current in-app values.

// what things cost

What you doFastStandardBest
Render one view5810
Change something in a render101010
Render a full 360° room101620
Try 6 style options304860
Walkthrough (preview)7
Walkthrough (full)70

All prices in credits. Walkthroughs are a single price. See refund policy.

11 journal

Notes from the drawing board.

Product updates, SketchUp workflows, rendering practice, and the decisions behind rkitect.

25 August 2026

How Charles Correa Mastered the Open-to-Sky Space

His buildings treat courtyards as active architecture, not leftover space.

Charles Correa didn't treat open spaces as gaps between built forms. He designed them as the organising centre of the building — bringing light, air, and climate into the structure while shaping how people move through it.

Projects like Gandhi Smarak Sangrahalaya, Bharat Bhavan, and Jawahar Kala Kendra show how courtyards, terraces, and open-to-sky spaces can become the heart of the architectural experience. At the Gandhi Sangrahalaya, the path through open courtyards tells the story as much as the exhibits inside. At Bharat Bhavan, stepped terraces connect the building to its site on a hillside.

For architects working in India today, Correa's approach remains relevant: open space is not a luxury or leftover. It is a design instrument that organises circulation, moderates climate, and gives the building a relationship with its place.

24 August 2026

Why small studios can win on presentation quality

Client-ready visuals no longer depend on a dedicated rendering team or a heavy software budget.

For years, polished visuals belonged to large firms with dedicated visualization staff and expensive render farms. Small studios had to choose between outsourcing, long turnaround, or presenting rough conceptual views. None of those options help when a pitch is tomorrow and the client wants to see the design clearly.

Presentation quality is now within reach for any team. The inputs are the sketches, floor plans, and models you already produce. The renders come back fast enough to iterate, and when the client asks for a change, you edit the affected surface instead of starting over.

The advantage is not just speed. A studio that can present multiple material options in one meeting reads as more prepared and more capable, regardless of firm size. What used to require a separate render pipeline now fits inside the design conversation itself.

18 July 2026

Why the SketchUp viewport should remain the camera

A rendering workflow becomes faster when designers do not have to rebuild composition in another tool.

Architects already make careful camera decisions inside SketchUp. Our plugin treats that view as the approved starting point, preserving composition while allowing the visual language to change. That means fewer exports, fewer duplicate files, and a clearer link between model review and presentation output.

The principle is simple: geometry stays in SketchUp; visual exploration happens around it.

04 July 2026

Targeted edits are more useful than another full render

Most client feedback is local: a floor, a wall finish, a sofa, or the light.

Traditional image generation often restarts the whole scene for one change. rkitect instead lets the designer select the affected region and describe the replacement. The goal is not infinite variation; it is controlled revision with fewer unintended changes.

20 August 2026

Post-render segmentation: why changing one surface should not mean re-rendering the whole room

Most client feedback is local — a floor, a wall finish, a single sofa. Traditional rendering restarts the whole scene for one change.

Every architect knows the loop: the client approves the render, then asks for one change — different flooring, lighter wall finish, swap the furniture layout. What follows is a full re-render, re-export, and re-review cycle that eats hours better spent on actual design work.

Post-render segmentation changes this. The render engine automatically identifies every surface, object, and material in the generated image — walls, floors, ceilings, furniture, lighting. Each becomes an independent layer you can edit directly. Click the floor, pick a new material, and the change applies in place. The rest of the render holds.

This is not infinite variation for its own sake. It is controlled revision — the difference between editing one paragraph in a document versus retyping the whole page. For small studios where the person presenting the render is also the person who built the model, that difference translates directly into faster client turnarounds and fewer late nights before a pitch.